Mar 28, 2022 -- Beginning Cocoa Touch
Outline
- Cocoa App Development
- App Principle
- Designing User Interfaces
- Writing Swift Code
- Adding User Interface Objects
Cocoa App Development
- Textbooks
- Text#1 Beginning iPhone Development with Swift 5 Exploring the iOS SDK by Wallace Wang
- Text#2 Swift 5 for Absolute Beginners Learn to Develop Apps for iOS by Stefan Kaczmarek
- Xcode is the main SDK
- No version request, try to have Xcode 10.1+ (Lab has 9.2)
- No 'live' quiz
- No submission of project, screenshots only
- No device required, however, may try yourself
- Xcode Tour
- Text#1 chapter 3 and 4
- Text#2 chapter 2 and 6
Cocoa Touch App Principle
- MVC -- Model, View, Control
- Model = Data - Swfit classes
- View = UI - storyboard
- Control = Code - Swift Controller classes
- Cocoa Touch App Build Priciple
- (Create model if necessary)
- Use storyboard to define UI
- Right drag to connect UI widgets and provide event handler in Swift
- Only 1 Way of Callbacks
- Right drag the UI control (eg. button) to controller(.swift)
- Make sure 'Connection' is set to Action
- Xcode will create a function template starting with @IBOutlet
- Provide the code detail
- Great Tutorials
Designing User Interfaces
- Text#1 Chapter 2
- Design UI
- Programmatically -- pp 22-25 don't do this way
- Visually (storyboard)
- SwiftUI
- Storyboard pp 25-31
- Views and Class Files pp 32-37
- Working with Different Screen Sizes pp 38-44
- Previewing the User Interface pp 45-49
Writing Swift Code
- Text#1 Chapter 3
- IBOutlet vs. IBAction pp 51
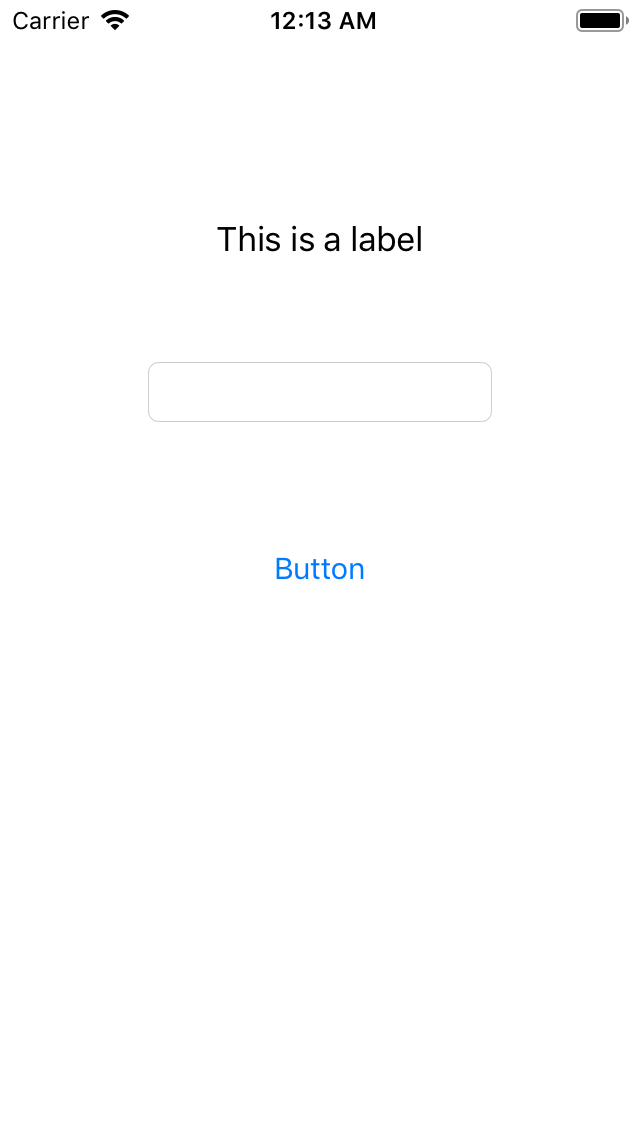
- To retrieve data from the user interface, you need to define special variables known as IBOutlets.
- To make your app do something, you can create special functions known as IBActions.
- MyFirstApp pp 52-64 -- C02-MFA
- Many ways to define IBOutlet/IBActions -- use the one you like
- Recommend - right drag from storyboard to .swift file
- Right drag from outline to .swift file
- Manualy define then drag from swift (dot) to storyboard OR outline
- Manualy define then drag from connection inspector to storyboard OR outline
-
    @IBOutlet var labelResult: UILabel!
    @IBOutlet weak var textMessage: UILabel!

    @IBAction func changeButton(_ sender: UIButton) {
        labelResult.text = textMessage.text
    }
- Using Apple’s Frameworks
    @IBAction func changeButton(_ sender: UIButton) {
        labelResult.text = textMessage.text?.uppercased()
    }
- Renaming and Deleting IBOutlet Variables (Chapter 4) pp 87-91
- Rename -- Editor -> Refactor -> Rename
- Delete -- connector inspector break the link -- COMMON ERROR
Adding User Interface Objects
- Text#1 Chapter 6
- Place an object on the user interface pp 117
- Size
- Position
- Other attributes such as color, text displayed, etc.
- Changing the Size and Position of Objects pp 118-121
- Changing an Object’s Attributes pp 122-123
- Understanding the Safe Area pp 124-127
- Editor -> Show Document Outline
- Click Safe Area in the Document Outline
- Defining Constraints (similar to Android) pp 128
- Defining Constraints Automatically pp 129-132
- Editor -> Resolve Auto Layout Issues
- Choose Add Missing Constraints
- Viewing and Deleting Constraints pp 133-134
- Adding Constraints Manually pp 135-143
- Align
- Add new constraints
- Resolve Auto Layout Issues